I’m so excited to be guest posting here at The Mrs.! Megan is so sweet to let me share my projects with her readers. I’ll tell you a little about me and then show you a super fast, easy, and fun tutorial.
So I am Amy from the blog A Case of the Yellows. I’m a full-time college student studying creative writing. I’m also a part time nanny to three children ages 3, 8, and 10. I’ve been doing crafty projects with my mom and my grandma for as long as I can remember, and in January 2010 I started sewing bags, accessories and little gifts for my friends. My blog is a journal for me to record all of the projects I have done, show what inspires me, and share ideas and techniques with you!
I also have an Etsy shop called Fancy Funky Fresh that is full of bright, fun accessories and bags. I just love fun fabrics in vibrant patterns!
Ok, enough about me and on to my super simple tutorial.
Today we’re making a magnetic chalkboard.
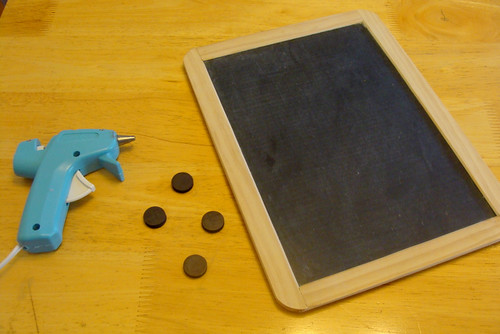
Here’s what you need:
Magnet rounds (I found mine at Michael’s for $2.99)
Glue gun
Chalkboard (Michael’s, on clearance)
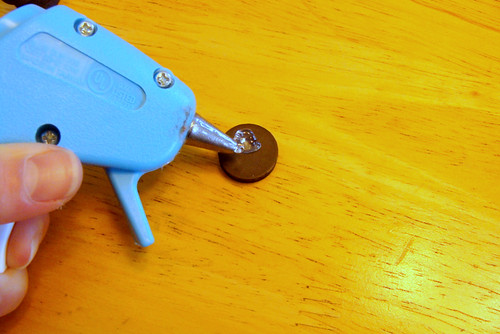
First apply hot glue directly to the magnet…
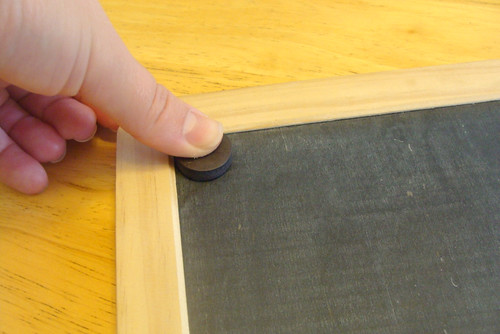
Then firmly press it into the corner of the chalkboard.
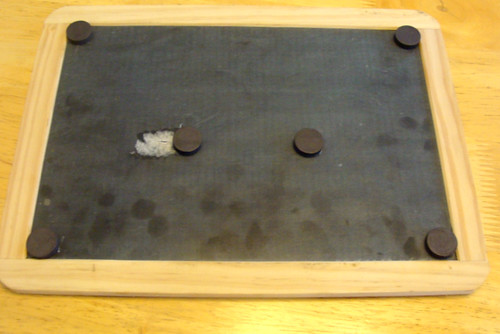
Glue magnets to all four corners.
I added a couple in the middle for extra stability.
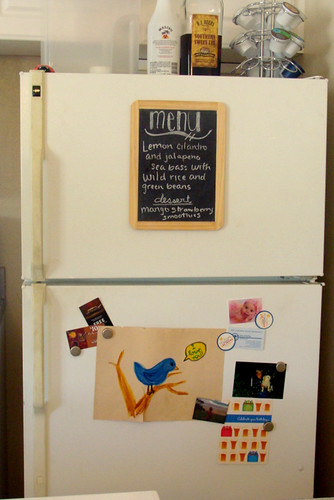
Now you can mount your chalkboard on the fridge
or any magnetic surface!
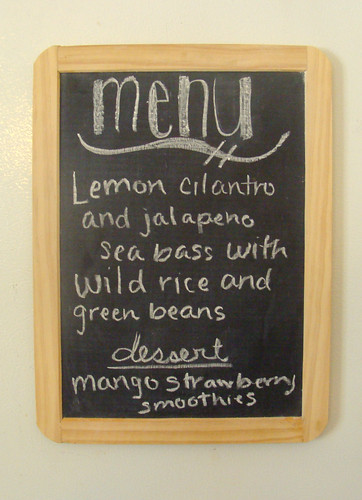
I use mine as a menu board, but you could make it a to-do list or a chore chart for kids… this is a very versatile project that can be easily modified. Customize it & make it your own!
Thanks again to Megan for allowing me to guest post! I’ve got some more crafty projects and inspiration over at my blog… come by and say hi!


.JPG)


2 comments:
Yay, I love that! What a great idea to display menus and notes, and plus, I just love any craft project that allows me to use a glue gun :) Adorable, Amy! ;)
fantastic idea!!
thanks for sharing!
Post a Comment