I wrote this post a while back... when I was pregnant, and I am just now realizing that I didn't post it. LOL... how convenient huh? This post was written long before I knew I was going to have a C-section when I was all gung ho on natural labor. Since Madison decided to be breech, this post is a little ironic.
----------------------------------------------------------------
As I sit here still.pregnant with all our bags packed, ready to go... I'm going to share with you my hospital gown. Now, let me be extremely clear so the pinterest police don't try and arrest me...
This is not my original pattern. I got the free pattern from this cute and talented young lady
here
I found the idea on pinterest, though.
*********************************************
Now, none of us enjoy those lovely, drab photos from the hospital with those nice washed and worn hospital gowns on, do we? Well let me tell you, I will not be wearing one of those. NO ma'am, and will probably do my makeup, too. Will I pay $60 for one of those darling gowns from etsy? Haha... You're joking. I made my own with the help of this wonderful madam!
First, I found this wonderful fabric from the Lobby of ultimate Hobbies, paid like $5 a yard, and got about 3 yards!

I then printed her pattern found here. Her tutorial states that it is for a "small-ish" person. Well, I indeed am not anywhere close to the term small, so I extended her pattern a bit using construction paper. (see below)


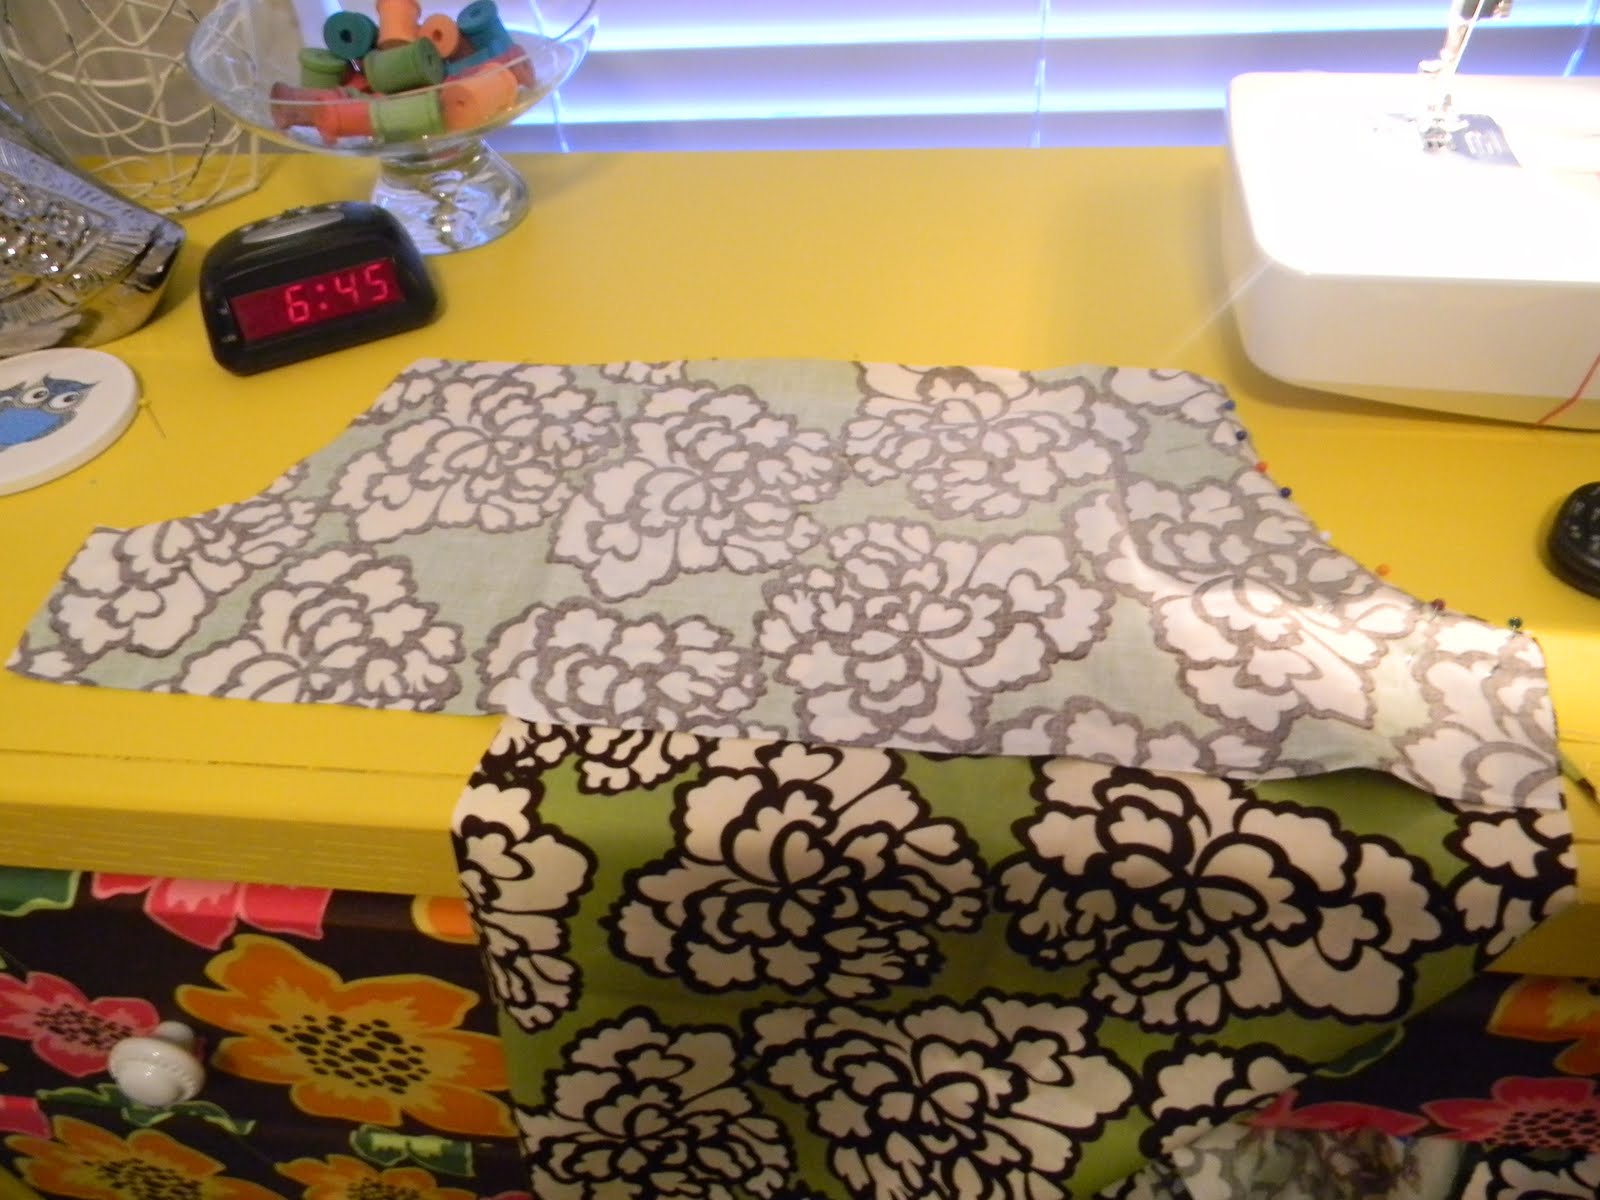
When it came time to cut the outside of the front piece, I did get a tad bit confused, so let me show you how I did it. I took a

When the front is cut out, it will look like this... Remember it's cut on a fold, so this is just half.


See? I added some extra length and width to my sleeves because not only is this pattern made for "small-ish" women, I have larger than life biceps. Not the cute kind, either.

Then, I used my front piece as a template to cut my two back pieces. Wowzers. Look how large and in charge!!
Def not "small-ish"

Next I cut out the yoke. As if I needed more reason to feel like some cattle-like farm animal... I was also able to use some scraps here. Word to the wise... These need to be cut out perfectly. I mean peeeeeeeeerfectly. Mine were just a weeee bit off, and it threw off the whole shape of the neckline. Fortunately, boat neck was in style at one point in time.


I was lost. I had a total blonde moment here and had no idea what this genius girl was talking about. After staring at her picture, and staring at my pieces, I finally figured out she meant to do this.....
Sleeve and back piece...

lined up and pinned.... Ok. Got it.
Of course we sew this together, and finish our edges. Check.
Next, is the yoke. Apparently I sorta jacked this part up, but it worked. I did not use interfacing because #1 I didn't have any and #2 felt works just as good for me.
I sewed together the front/back just as the original tutorial instructed. I just used felt instead :) It was a pain ironing down the outside edge of the curve, but totally worth it not to have to turn this little... yoke.


This next part is where her pattern gets tricky, expensive, and time consuming - and where mine gets... ghetto-fied.
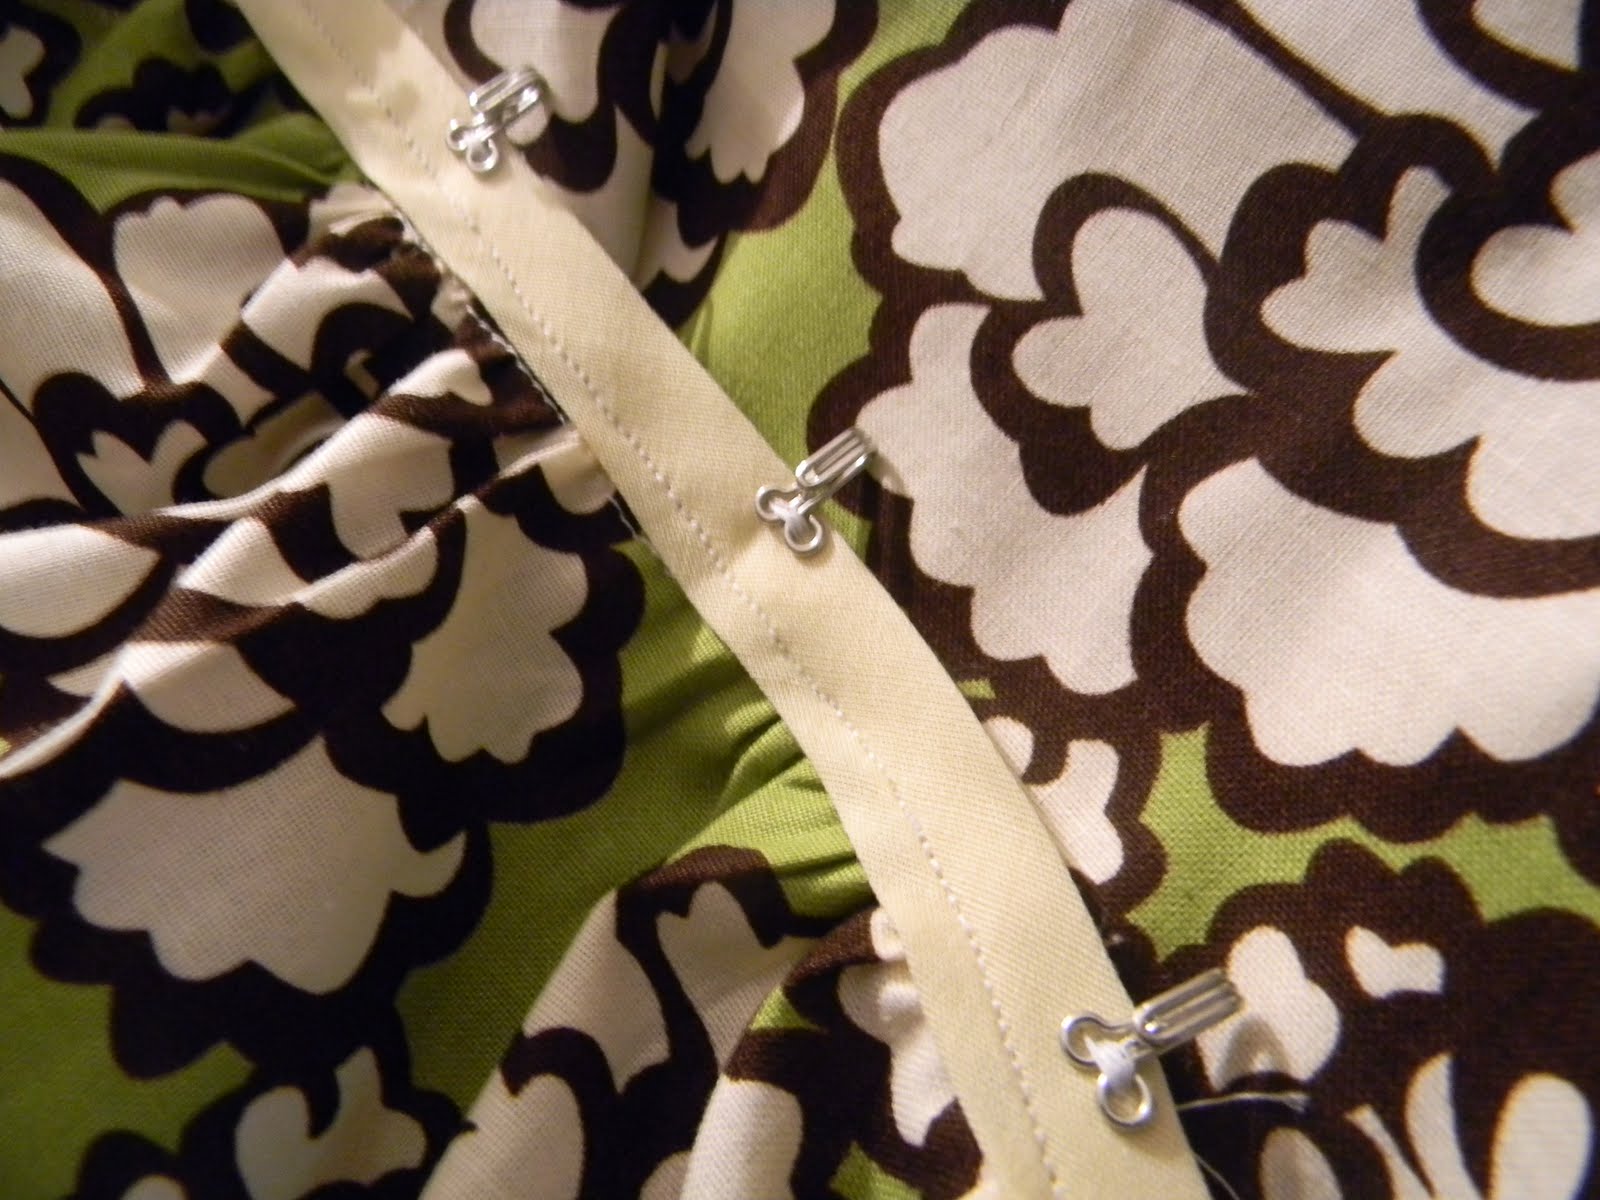
I took bias tape and slipped the bottom of the yoke (I'm beginning to hate that word) into the center and sewed it down.


Everywhere else, I followed her instructions... adhering the sleeves to the body, and so on and so forth. She does a great job explaining it, so we won't re-hash it.
I hemmed my "little" darling hospital gown and finished the edges of the back.I also added bias tape ties to the back in such a way that it actually closes the back-end of the gown. This allows for epidural (hopefully not) access if necessary, and makes things easier for post par-tum stuffs as well.
One thing i'd change? Make the arm pit holes bigger. I just feel like that ole armpit seam is all up in my arm pit bidness. Other than that... Love it.
 |
| full front |
 |
| close up of collar |
 |

 |
| front- open for nursing |
Now, I never got to wear this durn gown after I worked so so hard on it. The pre-op nurse told me that it would get filthy in the operating room. Hello. My nasty hospital gown came out spotless. Your gown stays on the non-surgical side of the sheet during surgery.
Why am I just now posting this? I forgot that I had the demi -tutorial all typed out and such. This is a great gown, and it is so cute - I just don't really know what to do with it now.


3 comments:
Such a cute idea! Love the print!
next time you do any sewing... let me know.. seriously! because I really want to learn how :)
it is really cute!! Use it as a convenient nighty?? lol
Post a Comment